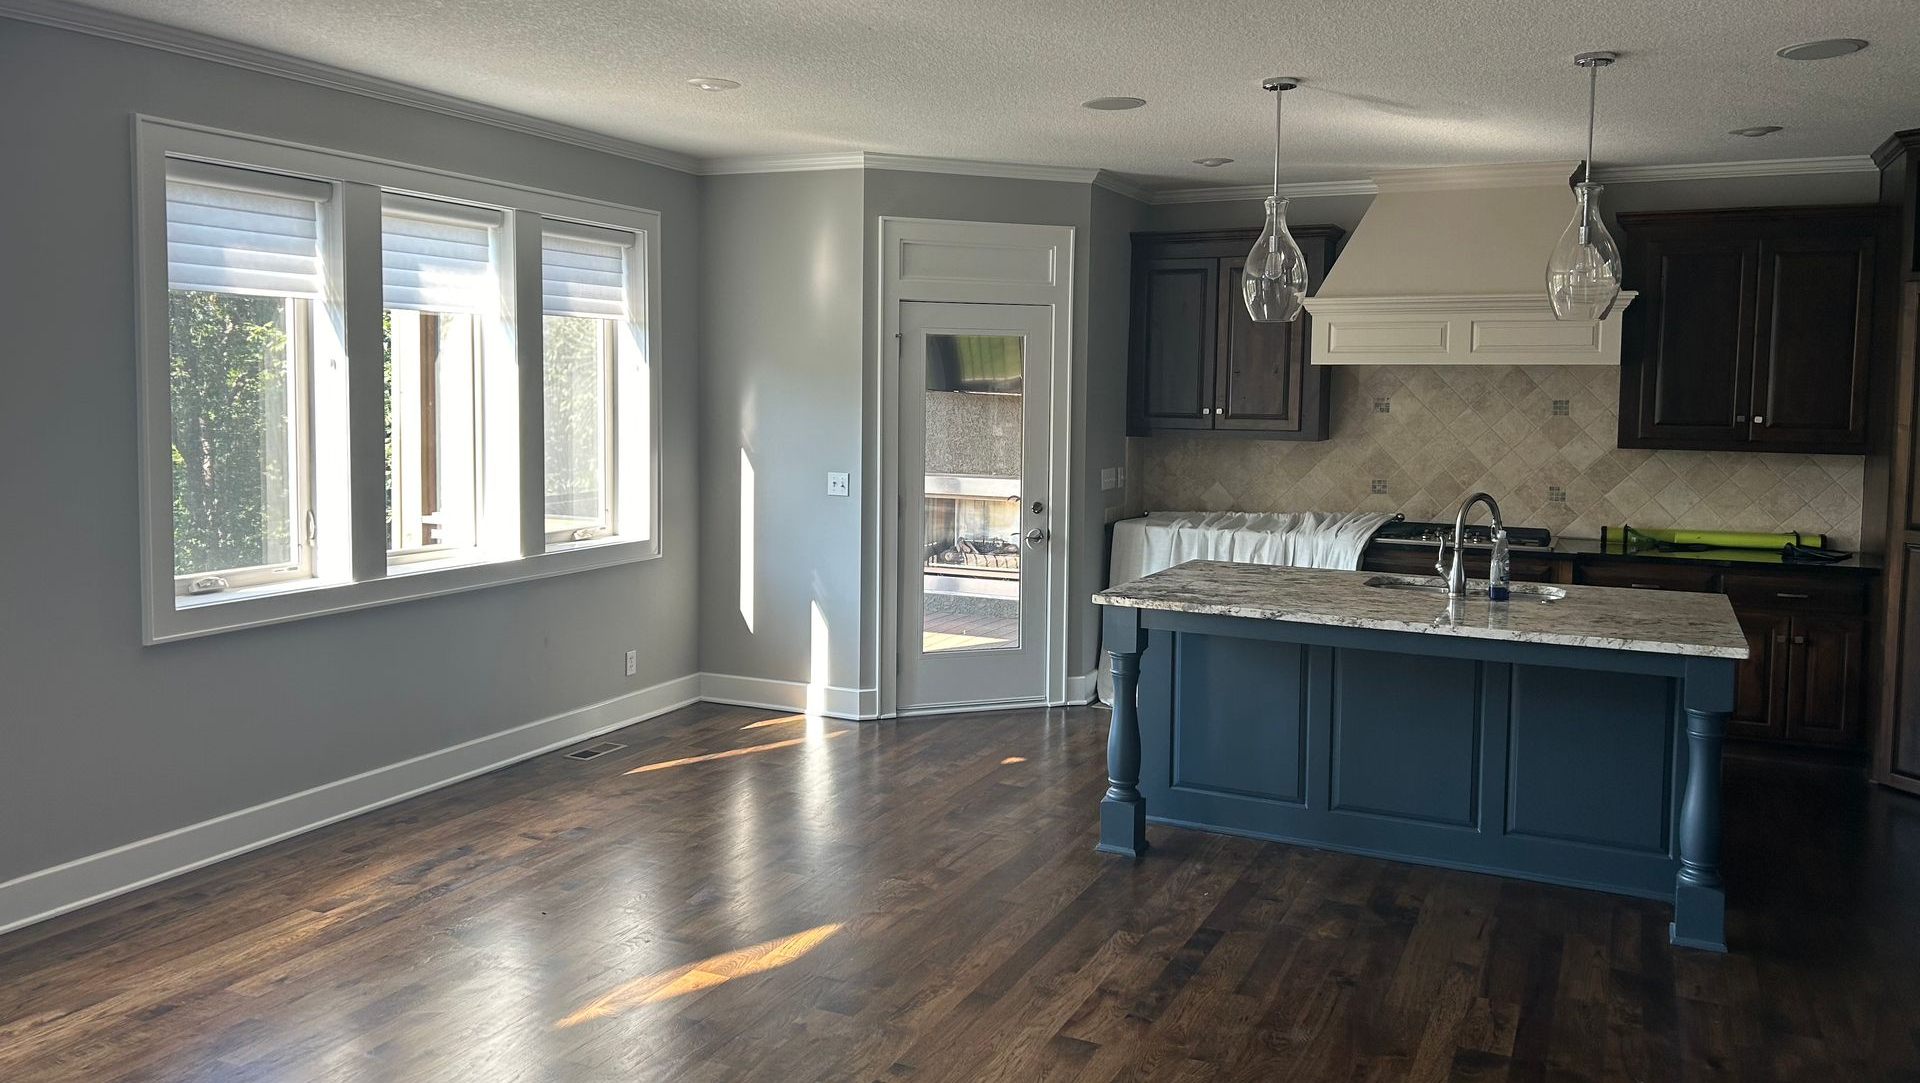
Painting your home’s interior is a cost-effective way to refresh your space and make a bold style statement. However, achieving that flawless, professional-grade finish requires more than just a brush and a can of paint. Whether you’re a first-timer or a seasoned DIYer, these 10 tips will help you get the best results.
1. Invest in Quality Tools and Materials
High-quality paint, brushes, and rollers make a world of difference. Cheap tools can leave streaks, shed bristles, or fail to provide even coverage. Look for brushes suited to the type of paint you’re using (e.g., natural bristles for oil-based paints) and choose rollers with the appropriate nap for your surface.
2. Prep Your Surfaces Thoroughly
Preparation is key to a smooth finish. Start by cleaning the walls to remove dust, grease, and grime. Fill in holes and cracks with spackle, sand the surface to smooth imperfections, and remove loose or peeling paint. Don’t forget to tape off trim, baseboards, and other areas you want to protect.
3. Use Primer When Necessary
Primer creates a uniform surface for paint and enhances adhesion, especially on new drywall, dark-colored walls, or surfaces with stains. If you’re covering a similar shade, you might skip this step, but for dramatic color changes or challenging surfaces, primer is essential for a flawless look.
4. Test Your Paint Colors
Paint can look different under various lighting conditions. Test your chosen colors on small sections of your wall or on a sample board and observe them at different times of the day. This ensures you’ll love the color before committing to an entire room.
5. Master Cutting-In Techniques
Cutting in is the process of painting edges and corners before using a roller on larger areas. Use an angled brush for precision and avoid overloading it with paint. A steady hand and patience here will save you from messy overlaps or missed spots.
6. Apply Paint in Thin, Even Coats
Thicker coats might seem like a time-saver, but they often result in drips, uneven drying, and longer curing times. Instead, apply multiple thin coats, allowing each one to dry fully before adding the next. This ensures an even, streak-free finish.
7. Maintain a Wet Edge
To avoid lap marks (visible lines where one section of paint overlaps another), work quickly and maintain a wet edge. This means blending your strokes while the paint is still wet for seamless coverage.
8. Use the Right Techniques for Each Tool
- Brushes: Use long, smooth strokes in one direction.
- Rollers: Roll paint in a “W” or “M” pattern before filling in gaps for even distribution. Avoid pressing too hard to prevent splatters and streaks.
9. Don’t Rush the Drying Process
Allow adequate drying time between coats. Paint might feel dry to the touch but still require time to cure. Check the manufacturer’s recommendations for drying and recoat times to avoid smudging or peeling.
10. Clean Up Like a Pro
Once your painting is complete, carefully remove painter’s tape while the paint is still slightly wet to avoid peeling. Clean your brushes and rollers immediately with water (for latex paints) or mineral spirits (for oil-based paints). Proper clean-up extends the life of your tools for future projects.
Final Thoughts
Painting your interiors is a rewarding project that can transform your space with the right techniques and preparation. By following these tips, you’ll achieve a professional-grade finish that you’ll be proud to show off. If you’re unsure about tackling the job yourself, don’t hesitate to reach out to professional painters who can handle the details for you.
Ready to give your home a fresh, new look? Start your next interior painting project today and experience the satisfaction of a job well done!


